

How to use My Link
A complete guide: from sign-in to analytics and plan.
1. Sign in with your phone number
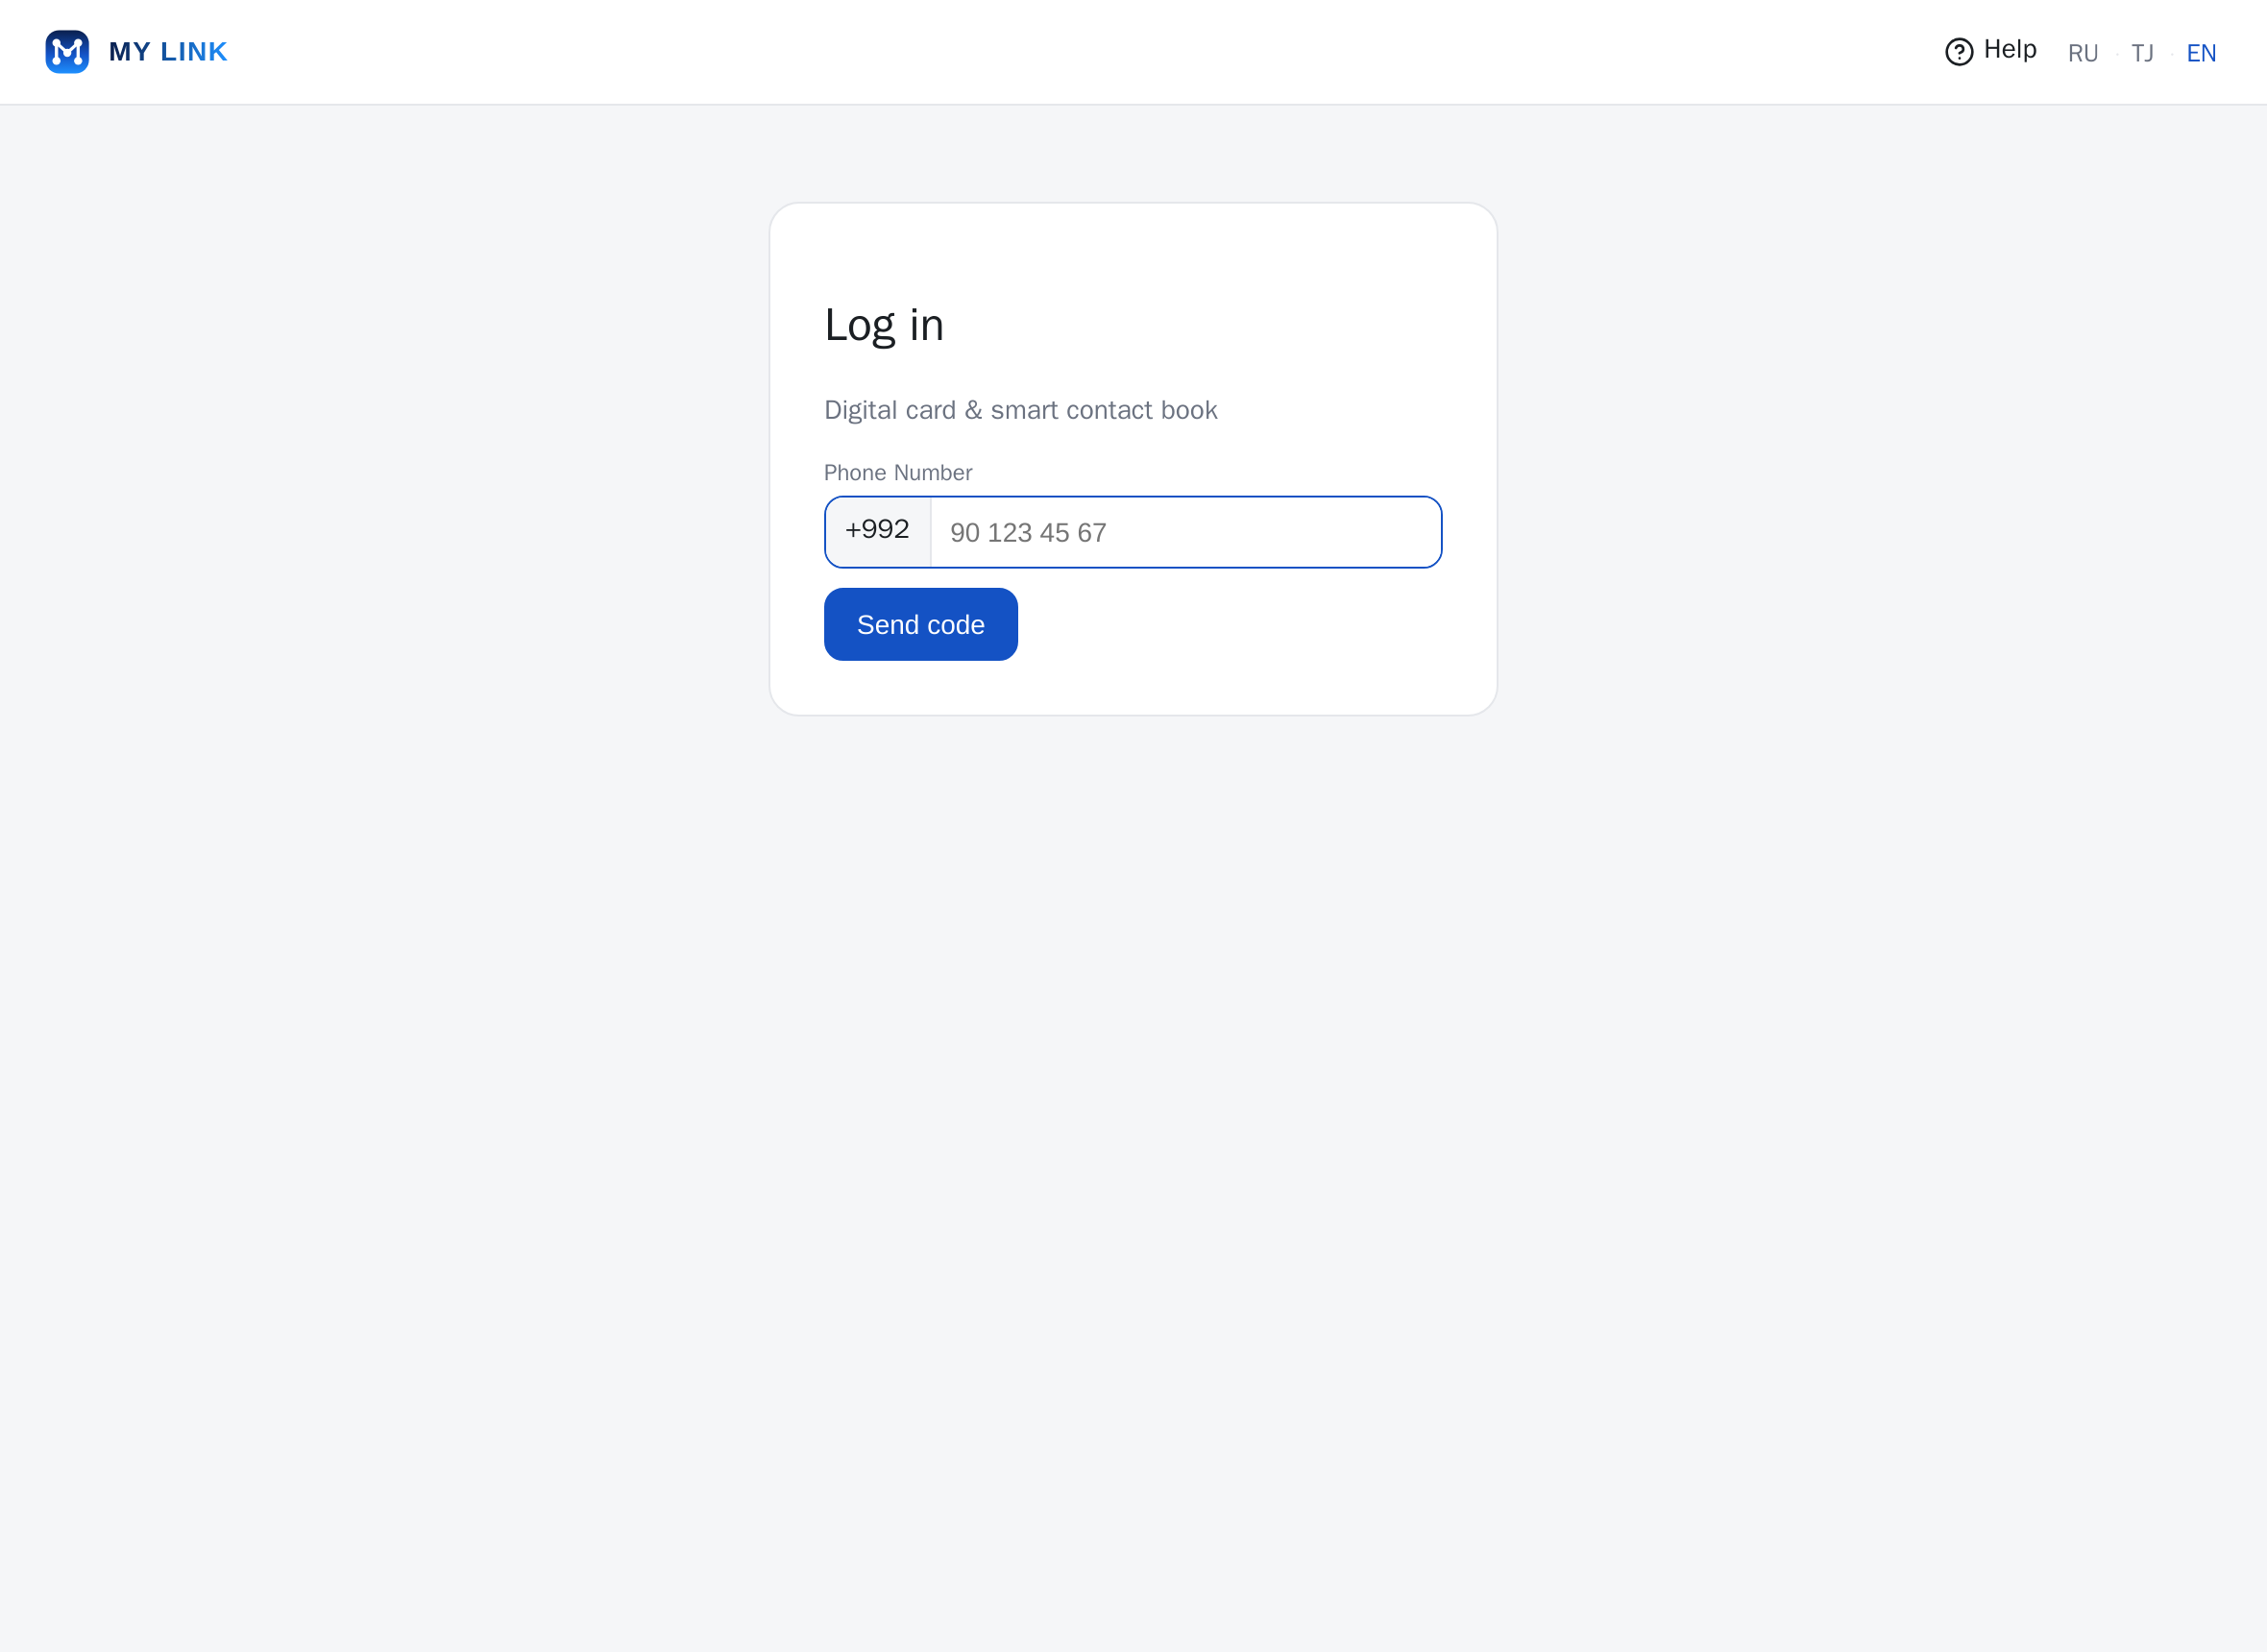
Steps
- Open mylink.tj and tap “Log in”.
- Enter the 9 digits of your number — the +992 prefix is added automatically. Tap “Send code”.
- Enter the code from the SMS and tap “Verify”. On first sign-in you can also set your name.
Conditions
- The code is valid for 5 minutes.
- A request rate limit applies (anti-spam) — if you see “Too many requests”, wait a moment.
- The number is stored as +992XXXXXXXXX.
2. My card: create and edit
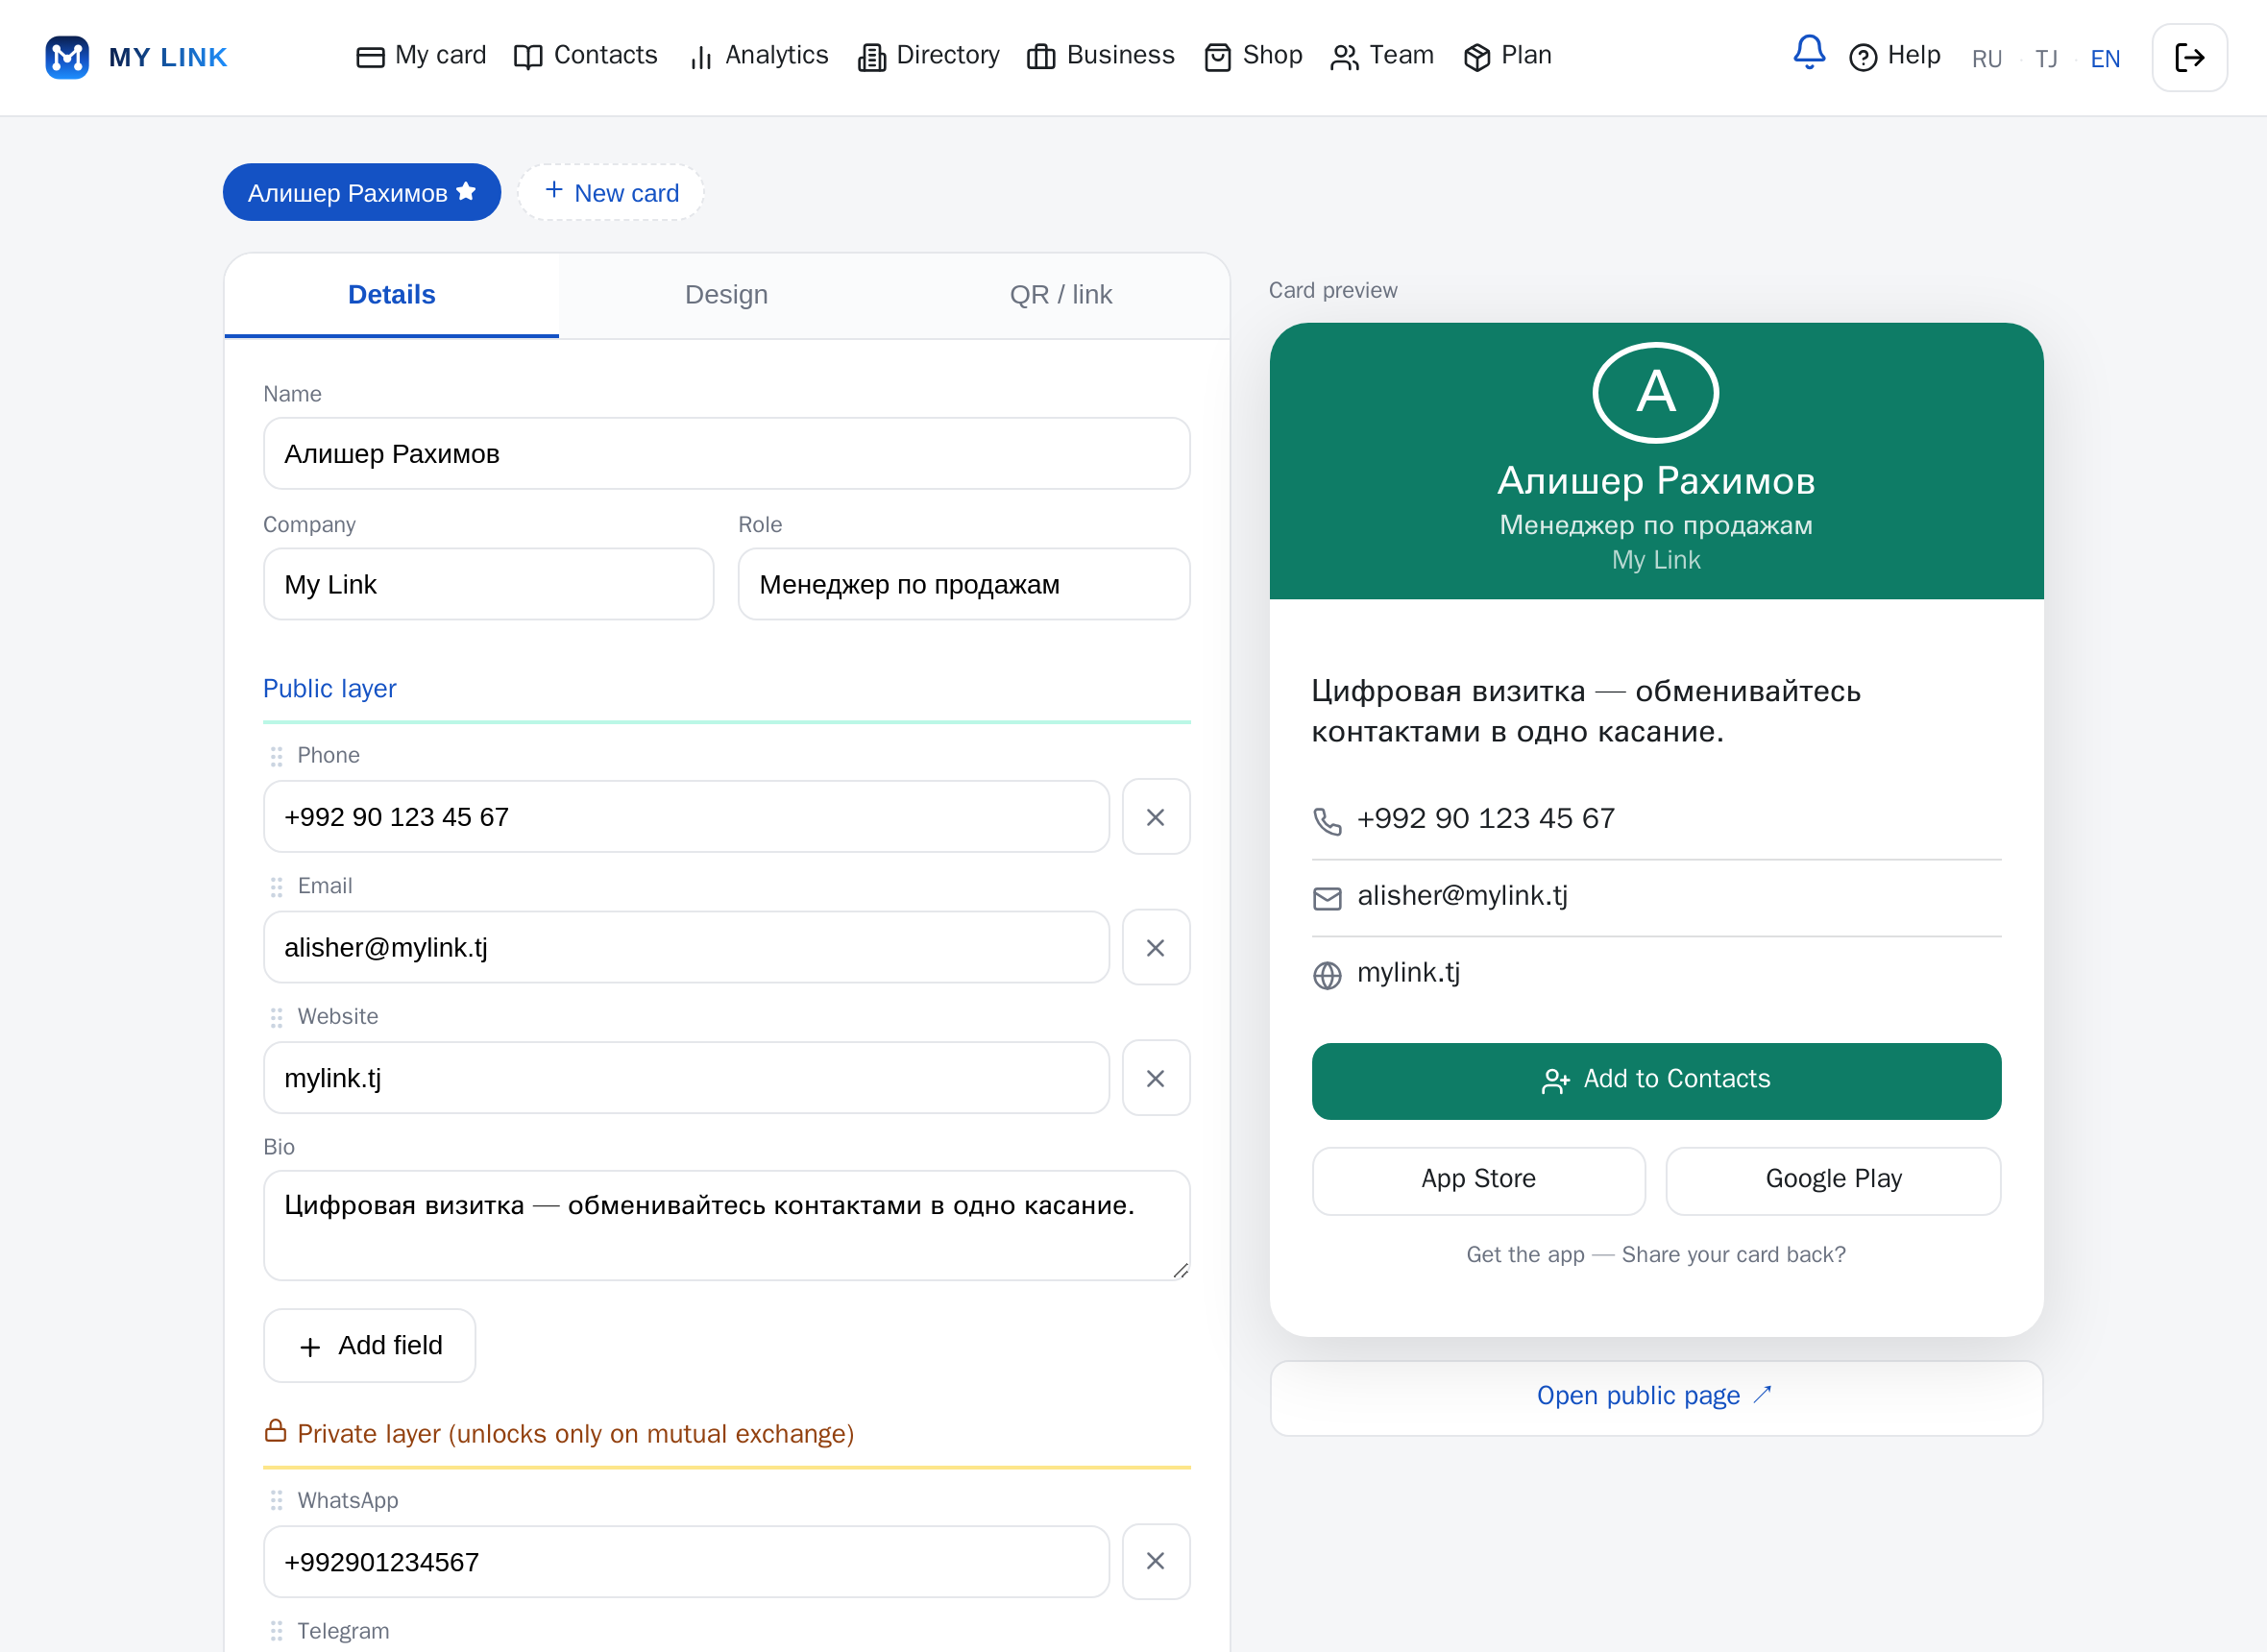
Steps
- On the “My card” page fill in “Name”, “Company”, “Role”.
- On the “Design” tab upload an avatar and set the theme and colours.
- Tap “Save”. A live preview of the card is shown on the right.
- Use “New card” to create extra cards and switch between them; the star marks your default card.
Conditions
- The number of cards depends on your plan (see the “Plan” section).
- Images up to 5 MB.
- A filled-in name is enough to publish.
3. Public and private layer
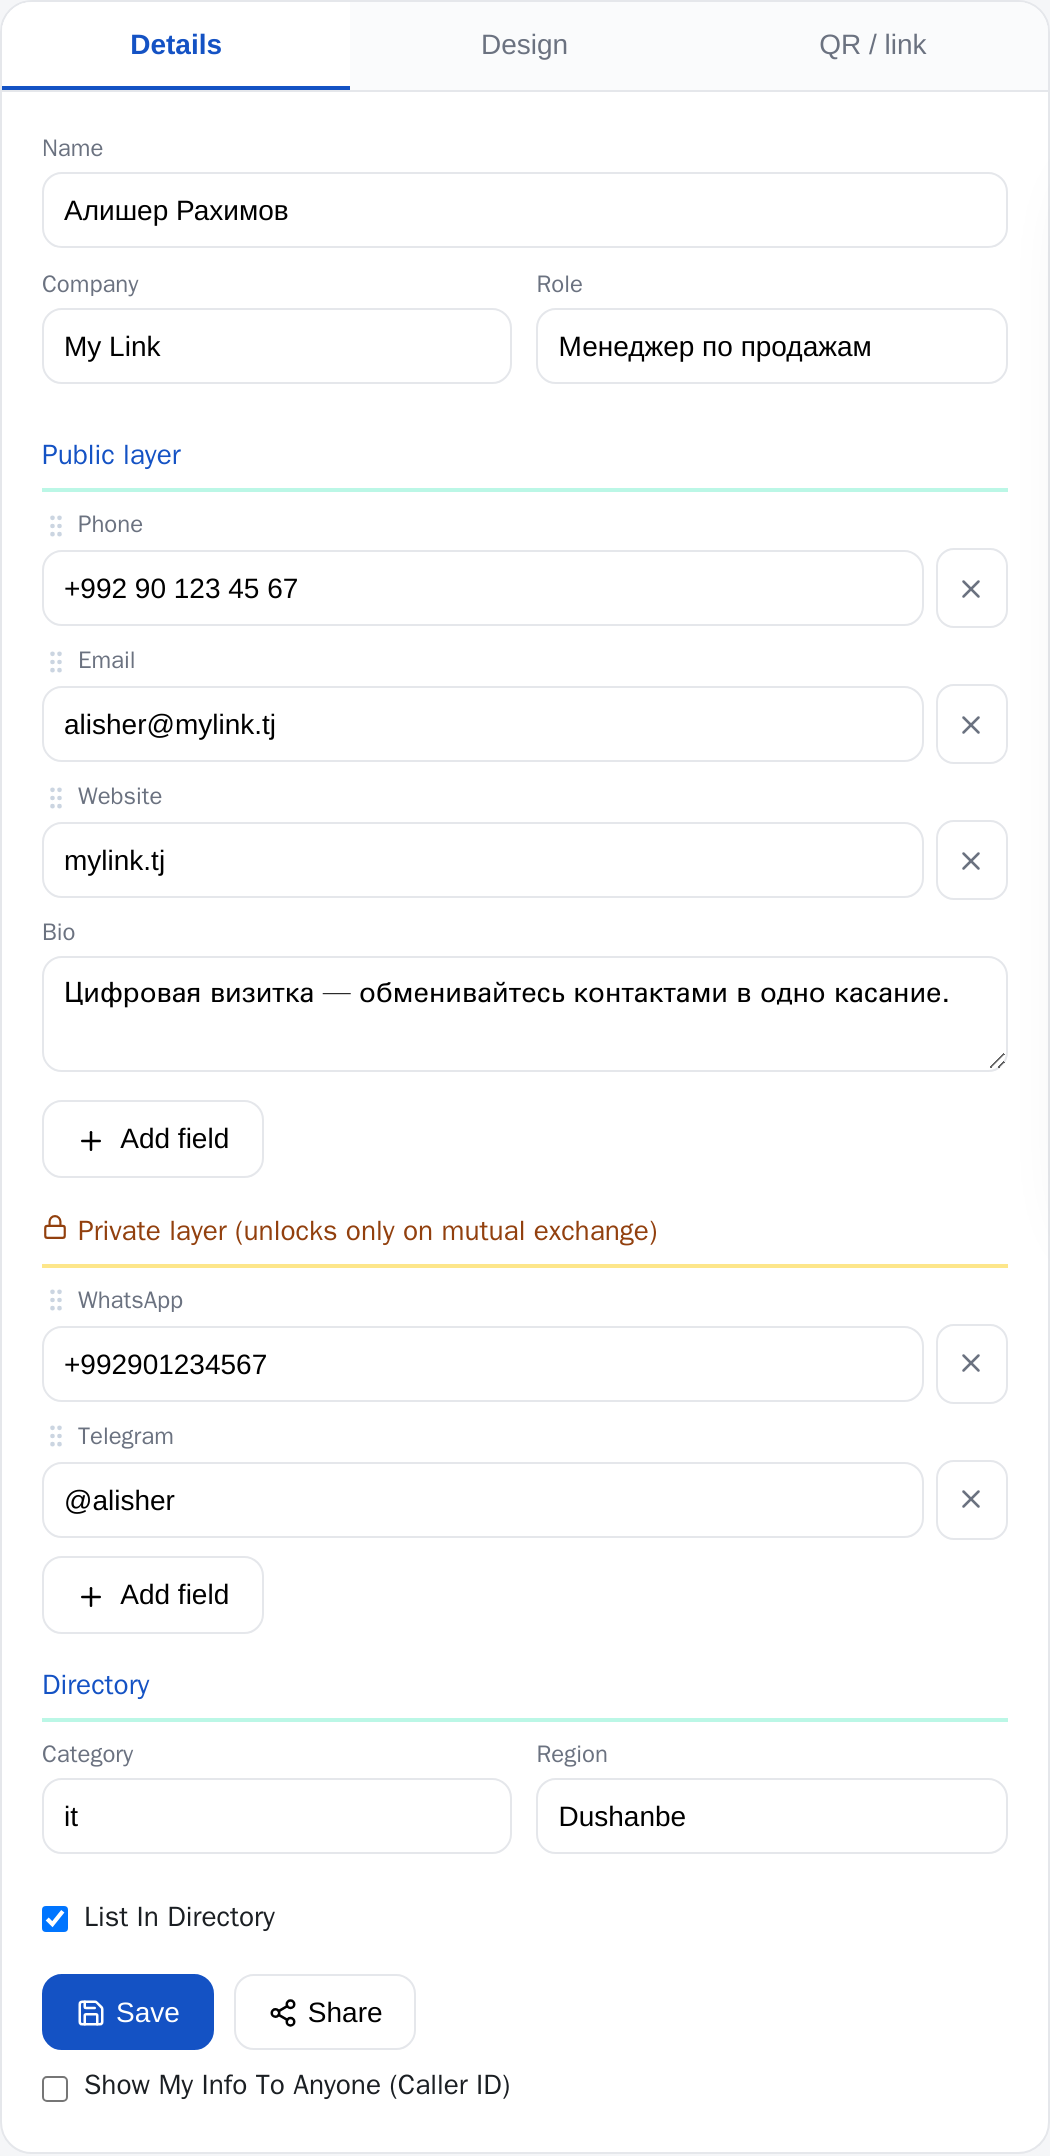
Steps
- In the “Public layer” block add data visible to everyone: phone, email, website, bio.
- In the “Private layer” block (with the lock) add data that opens only on a mutual exchange.
- Optionally enable listing in the “Directory”: category, region and the “List in directory” checkbox.
Conditions
- The private layer unlocks only when both users have shared their cards (mutual exchange).
- The “Show my info to anyone (Caller ID)” checkbox exposes your public data to caller ID.
- The public layer is visible to anyone who opens your link or QR.
4. Share: QR and link
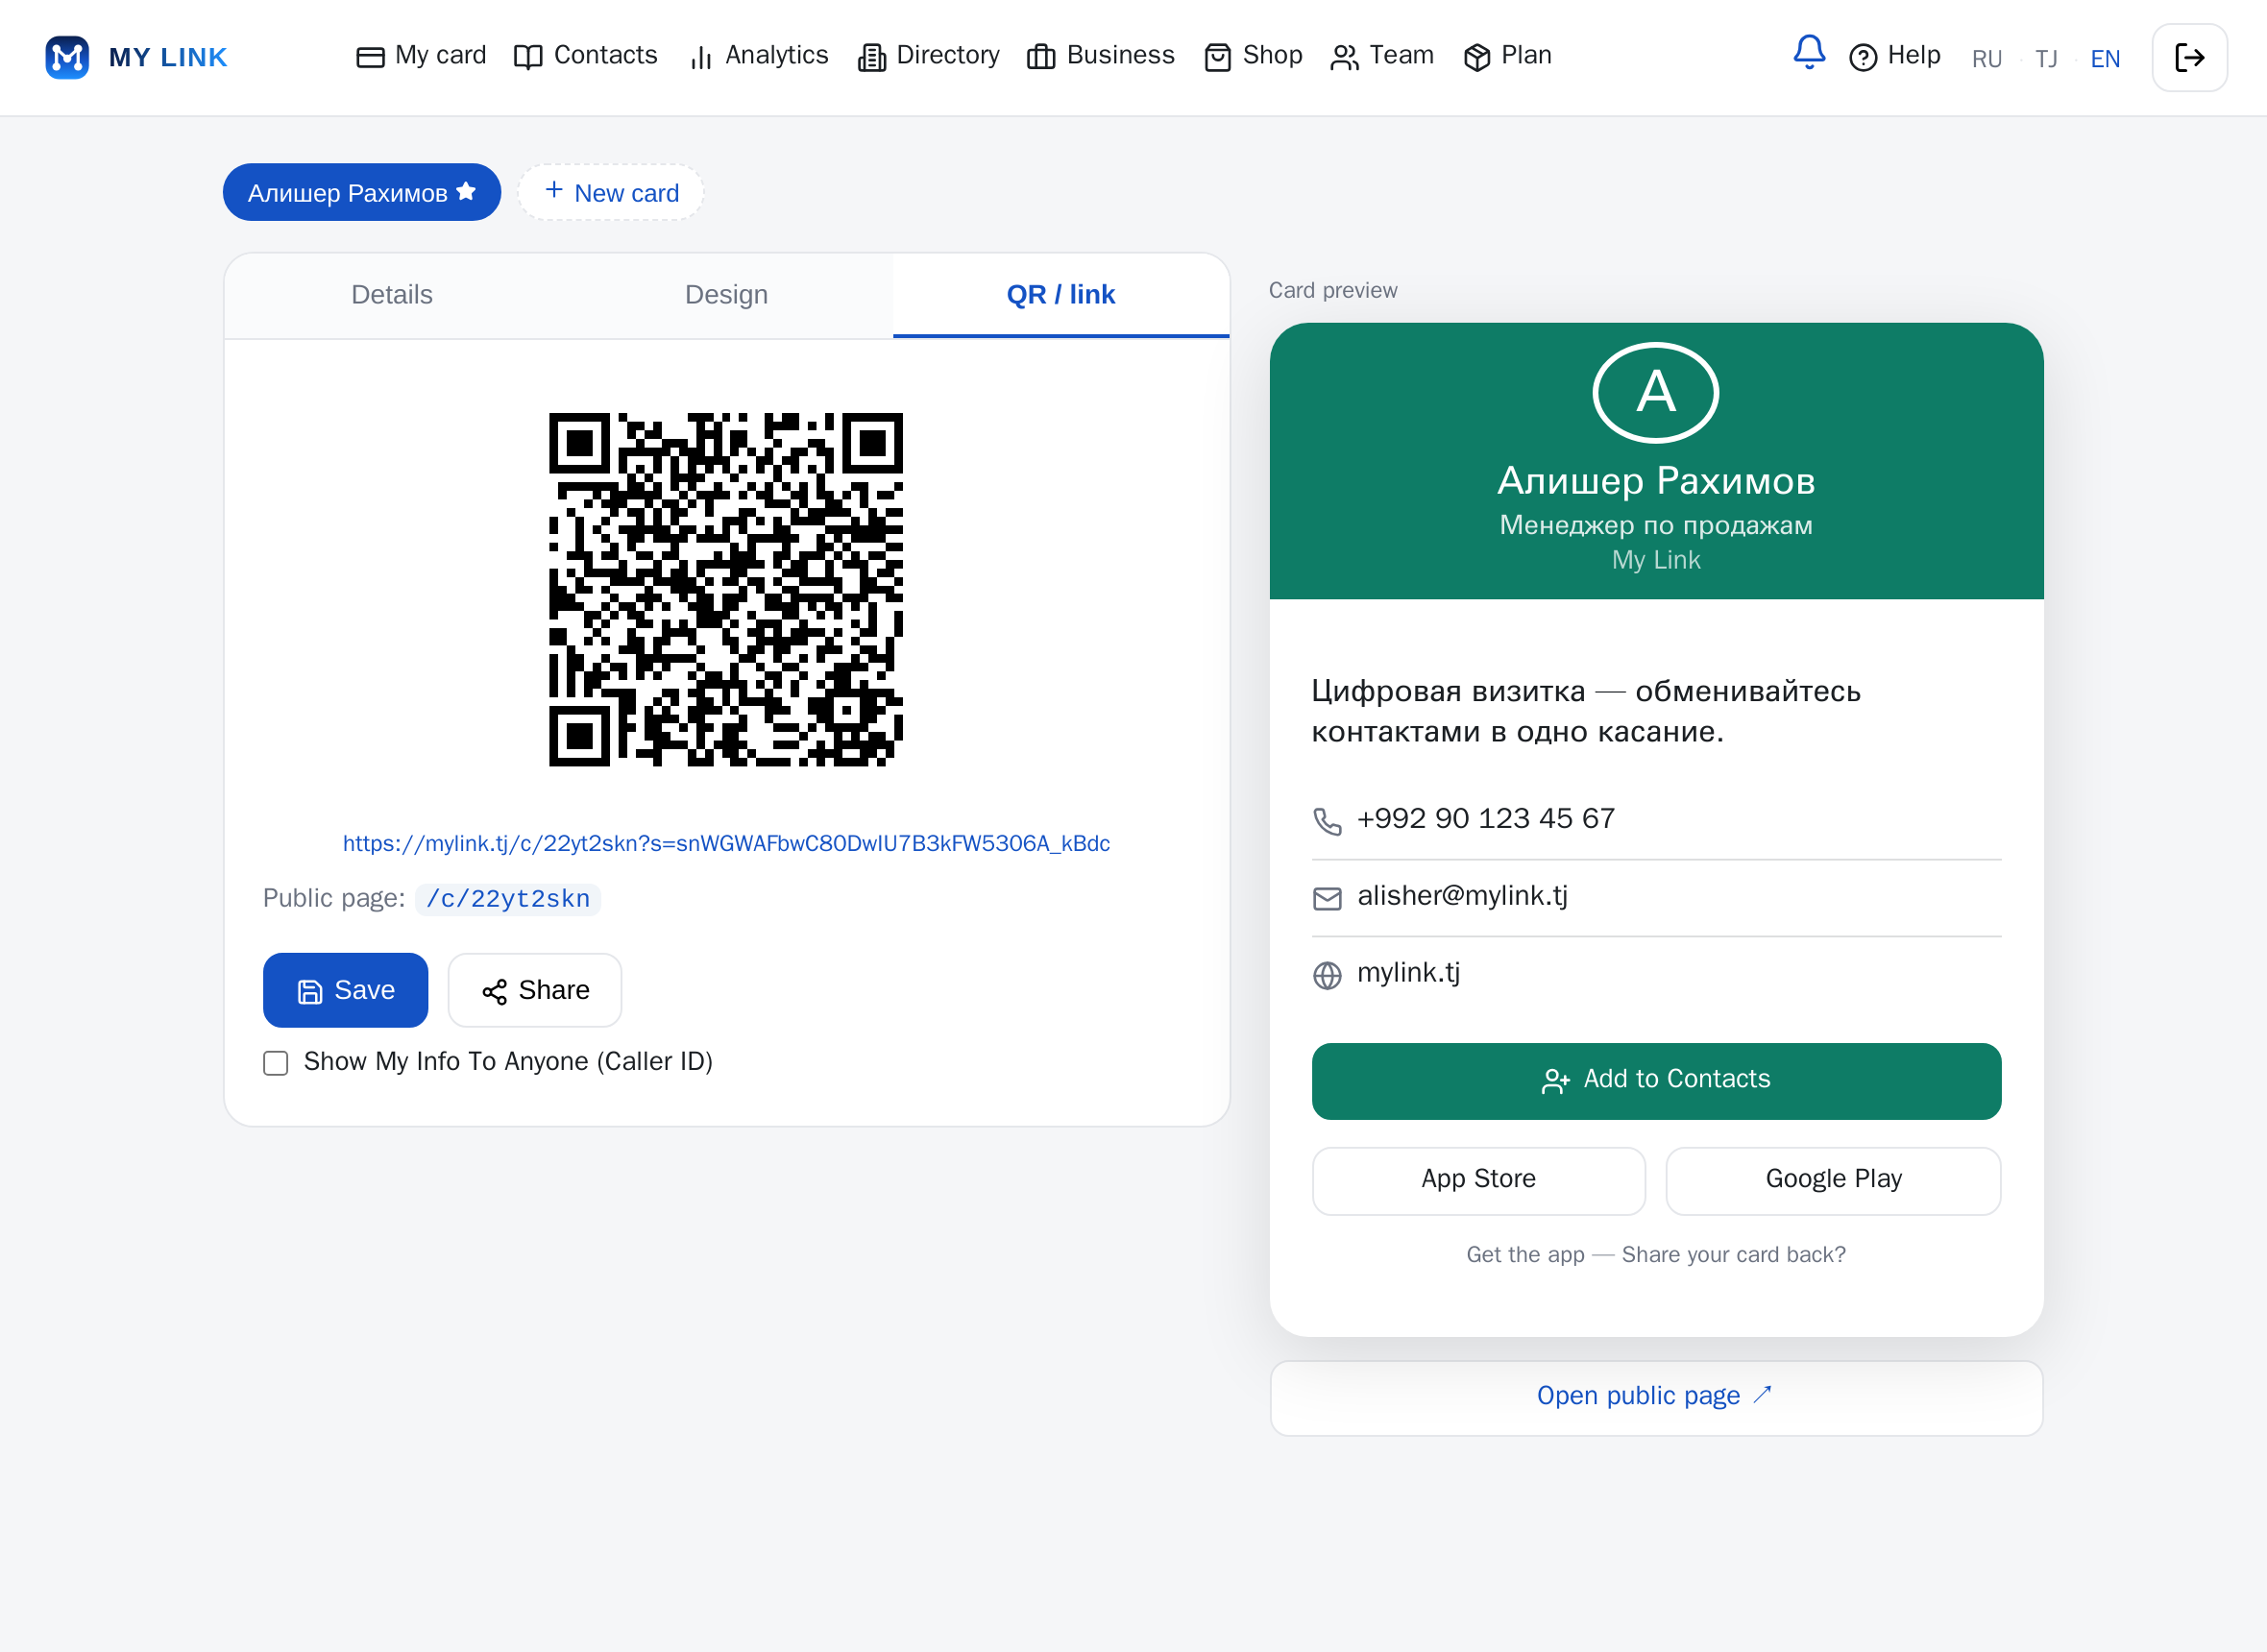
Steps
- Tap “Share” — a QR code and a short link appear on the “QR / link” tab.
- Show the QR or send the link — the other person opens your public card.
- The public page lives at /c/your-code; the “Open public page” button opens it in a new tab.
Conditions
- The share link may have an expiry (shown under the QR code).
- Scanning the QR lets the other person share their card back and unlock the private layer.
- No sign-up is needed to view a public card.
5. Contacts
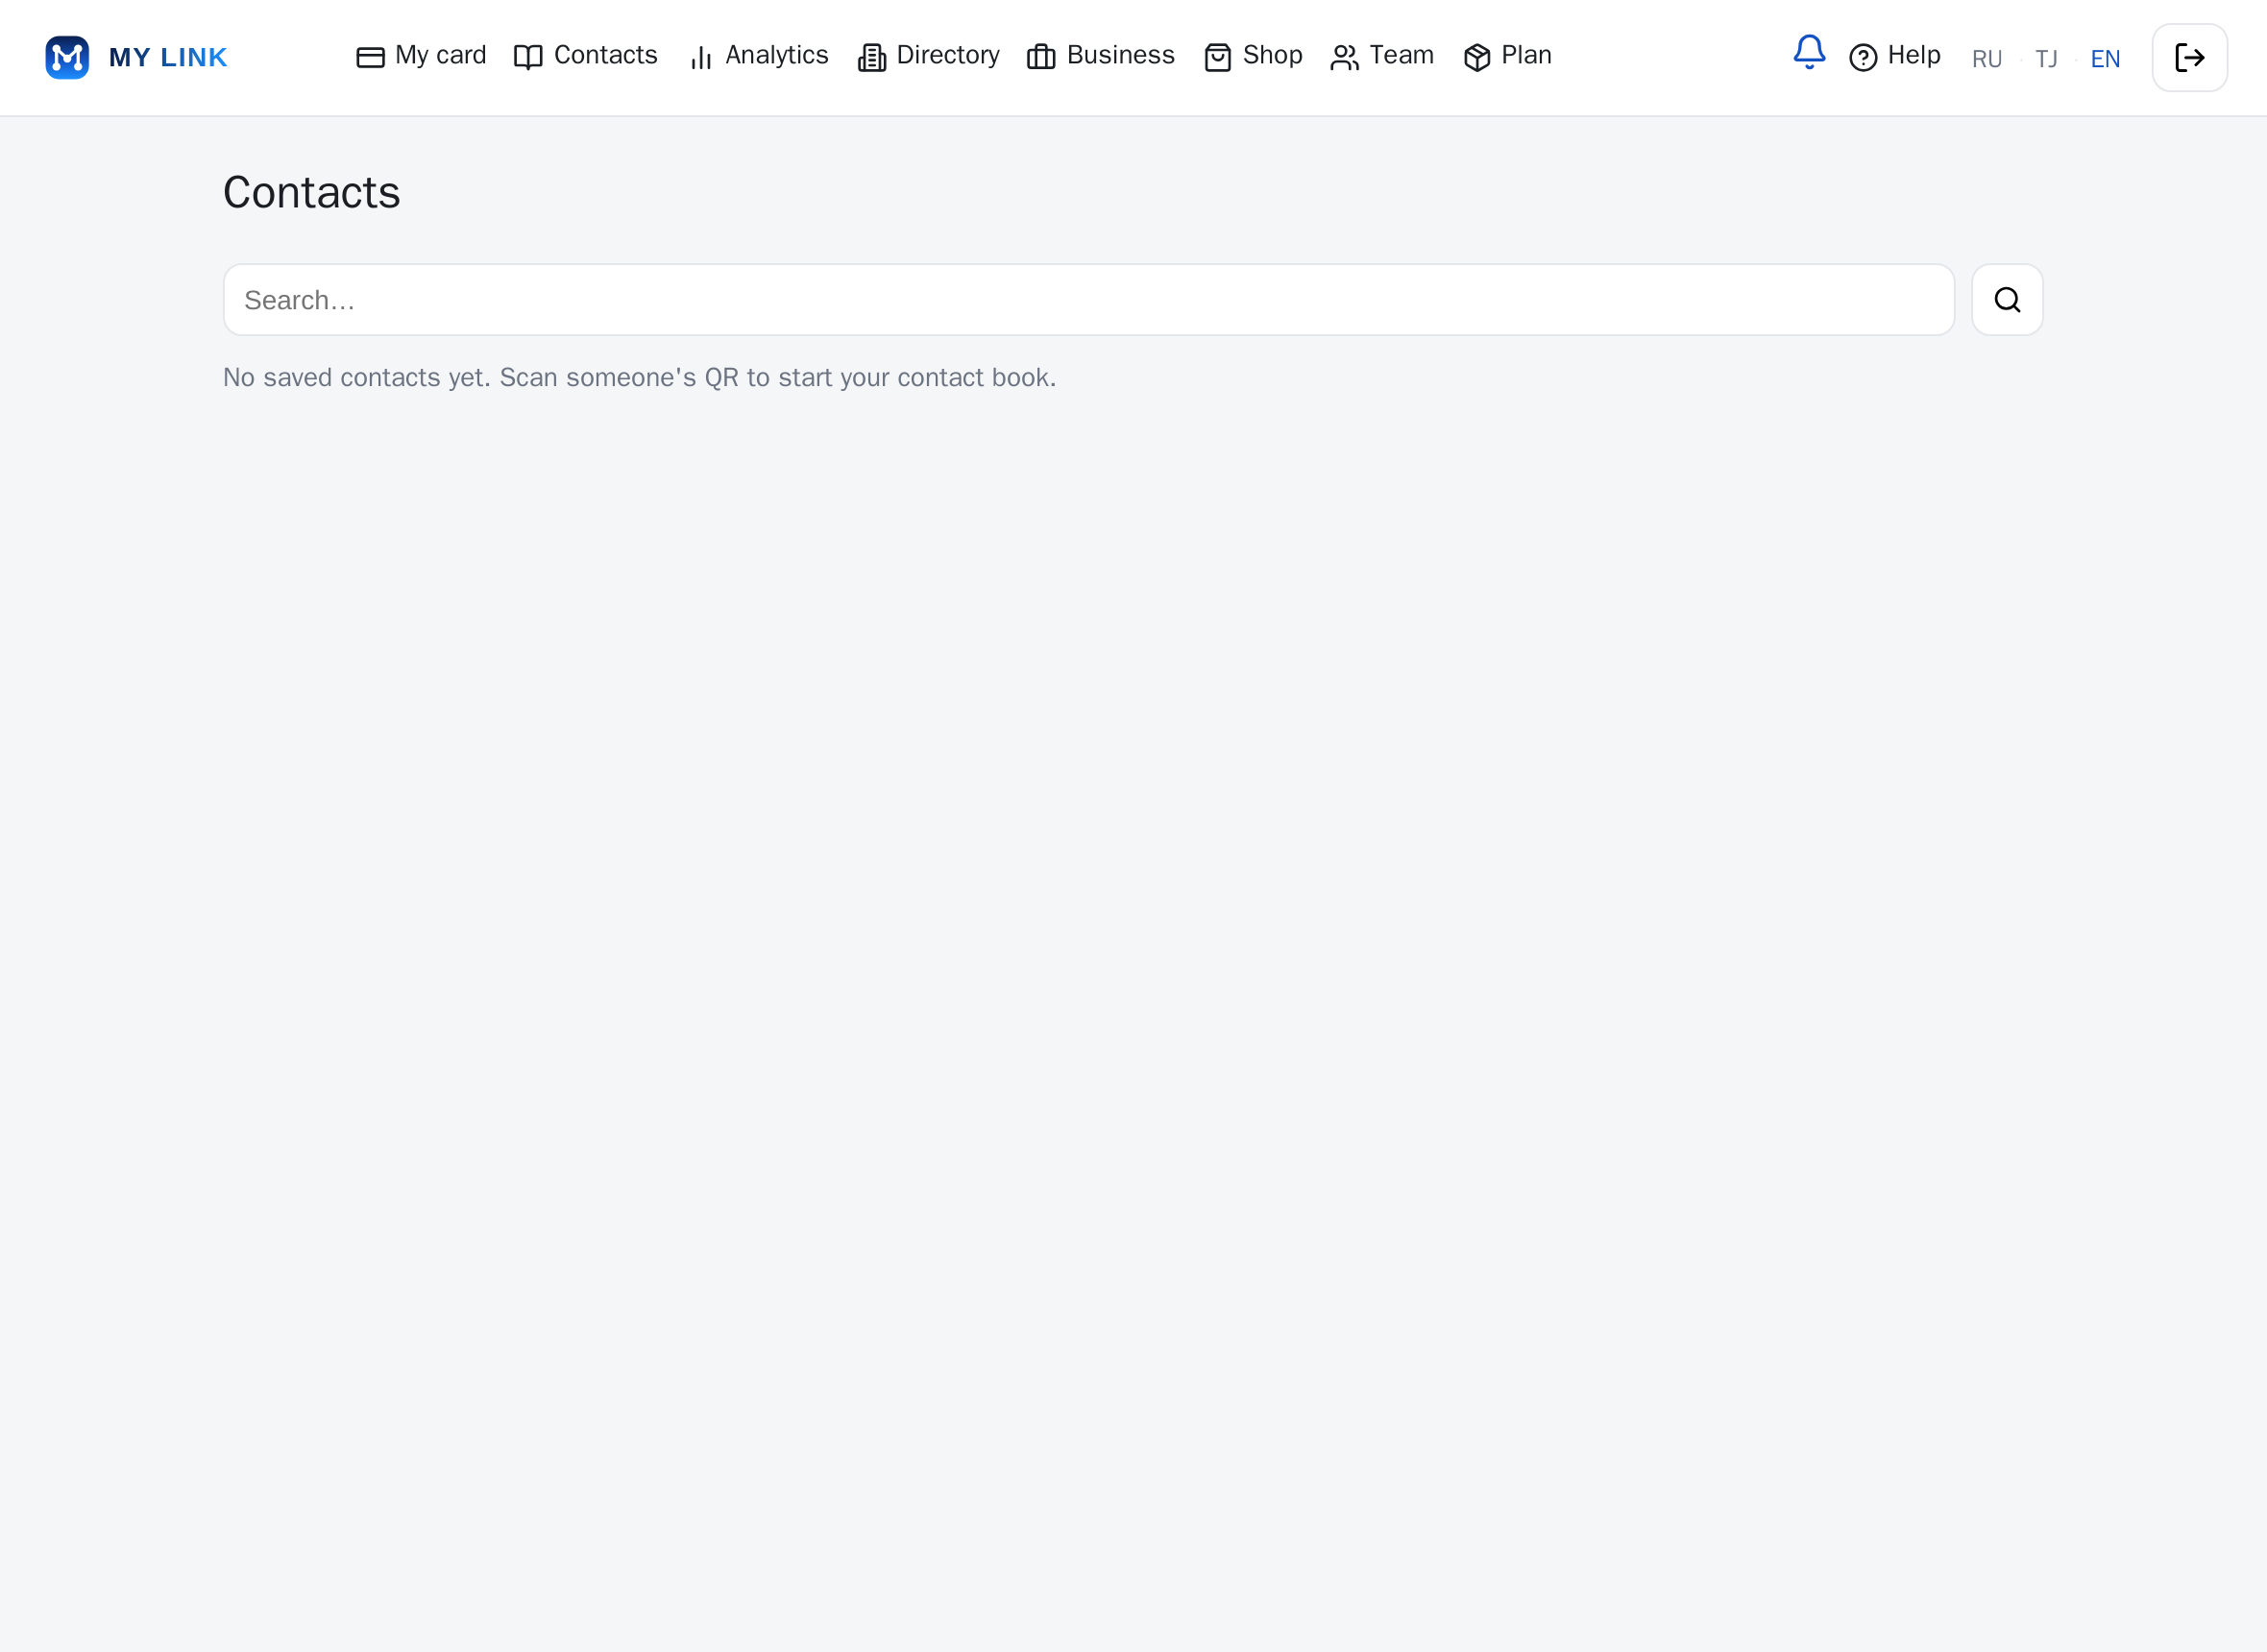
Steps
- Open the “Contacts” section — this is where people you exchanged cards with are collected.
- For each contact you can see the date and place you met, plus notes.
- In the business sections contacts can be exported to CSV.
Conditions
- A contact is added when you save someone’s card or on a mutual exchange.
- A contact’s private data is visible only on a mutual exchange.
6. Analytics
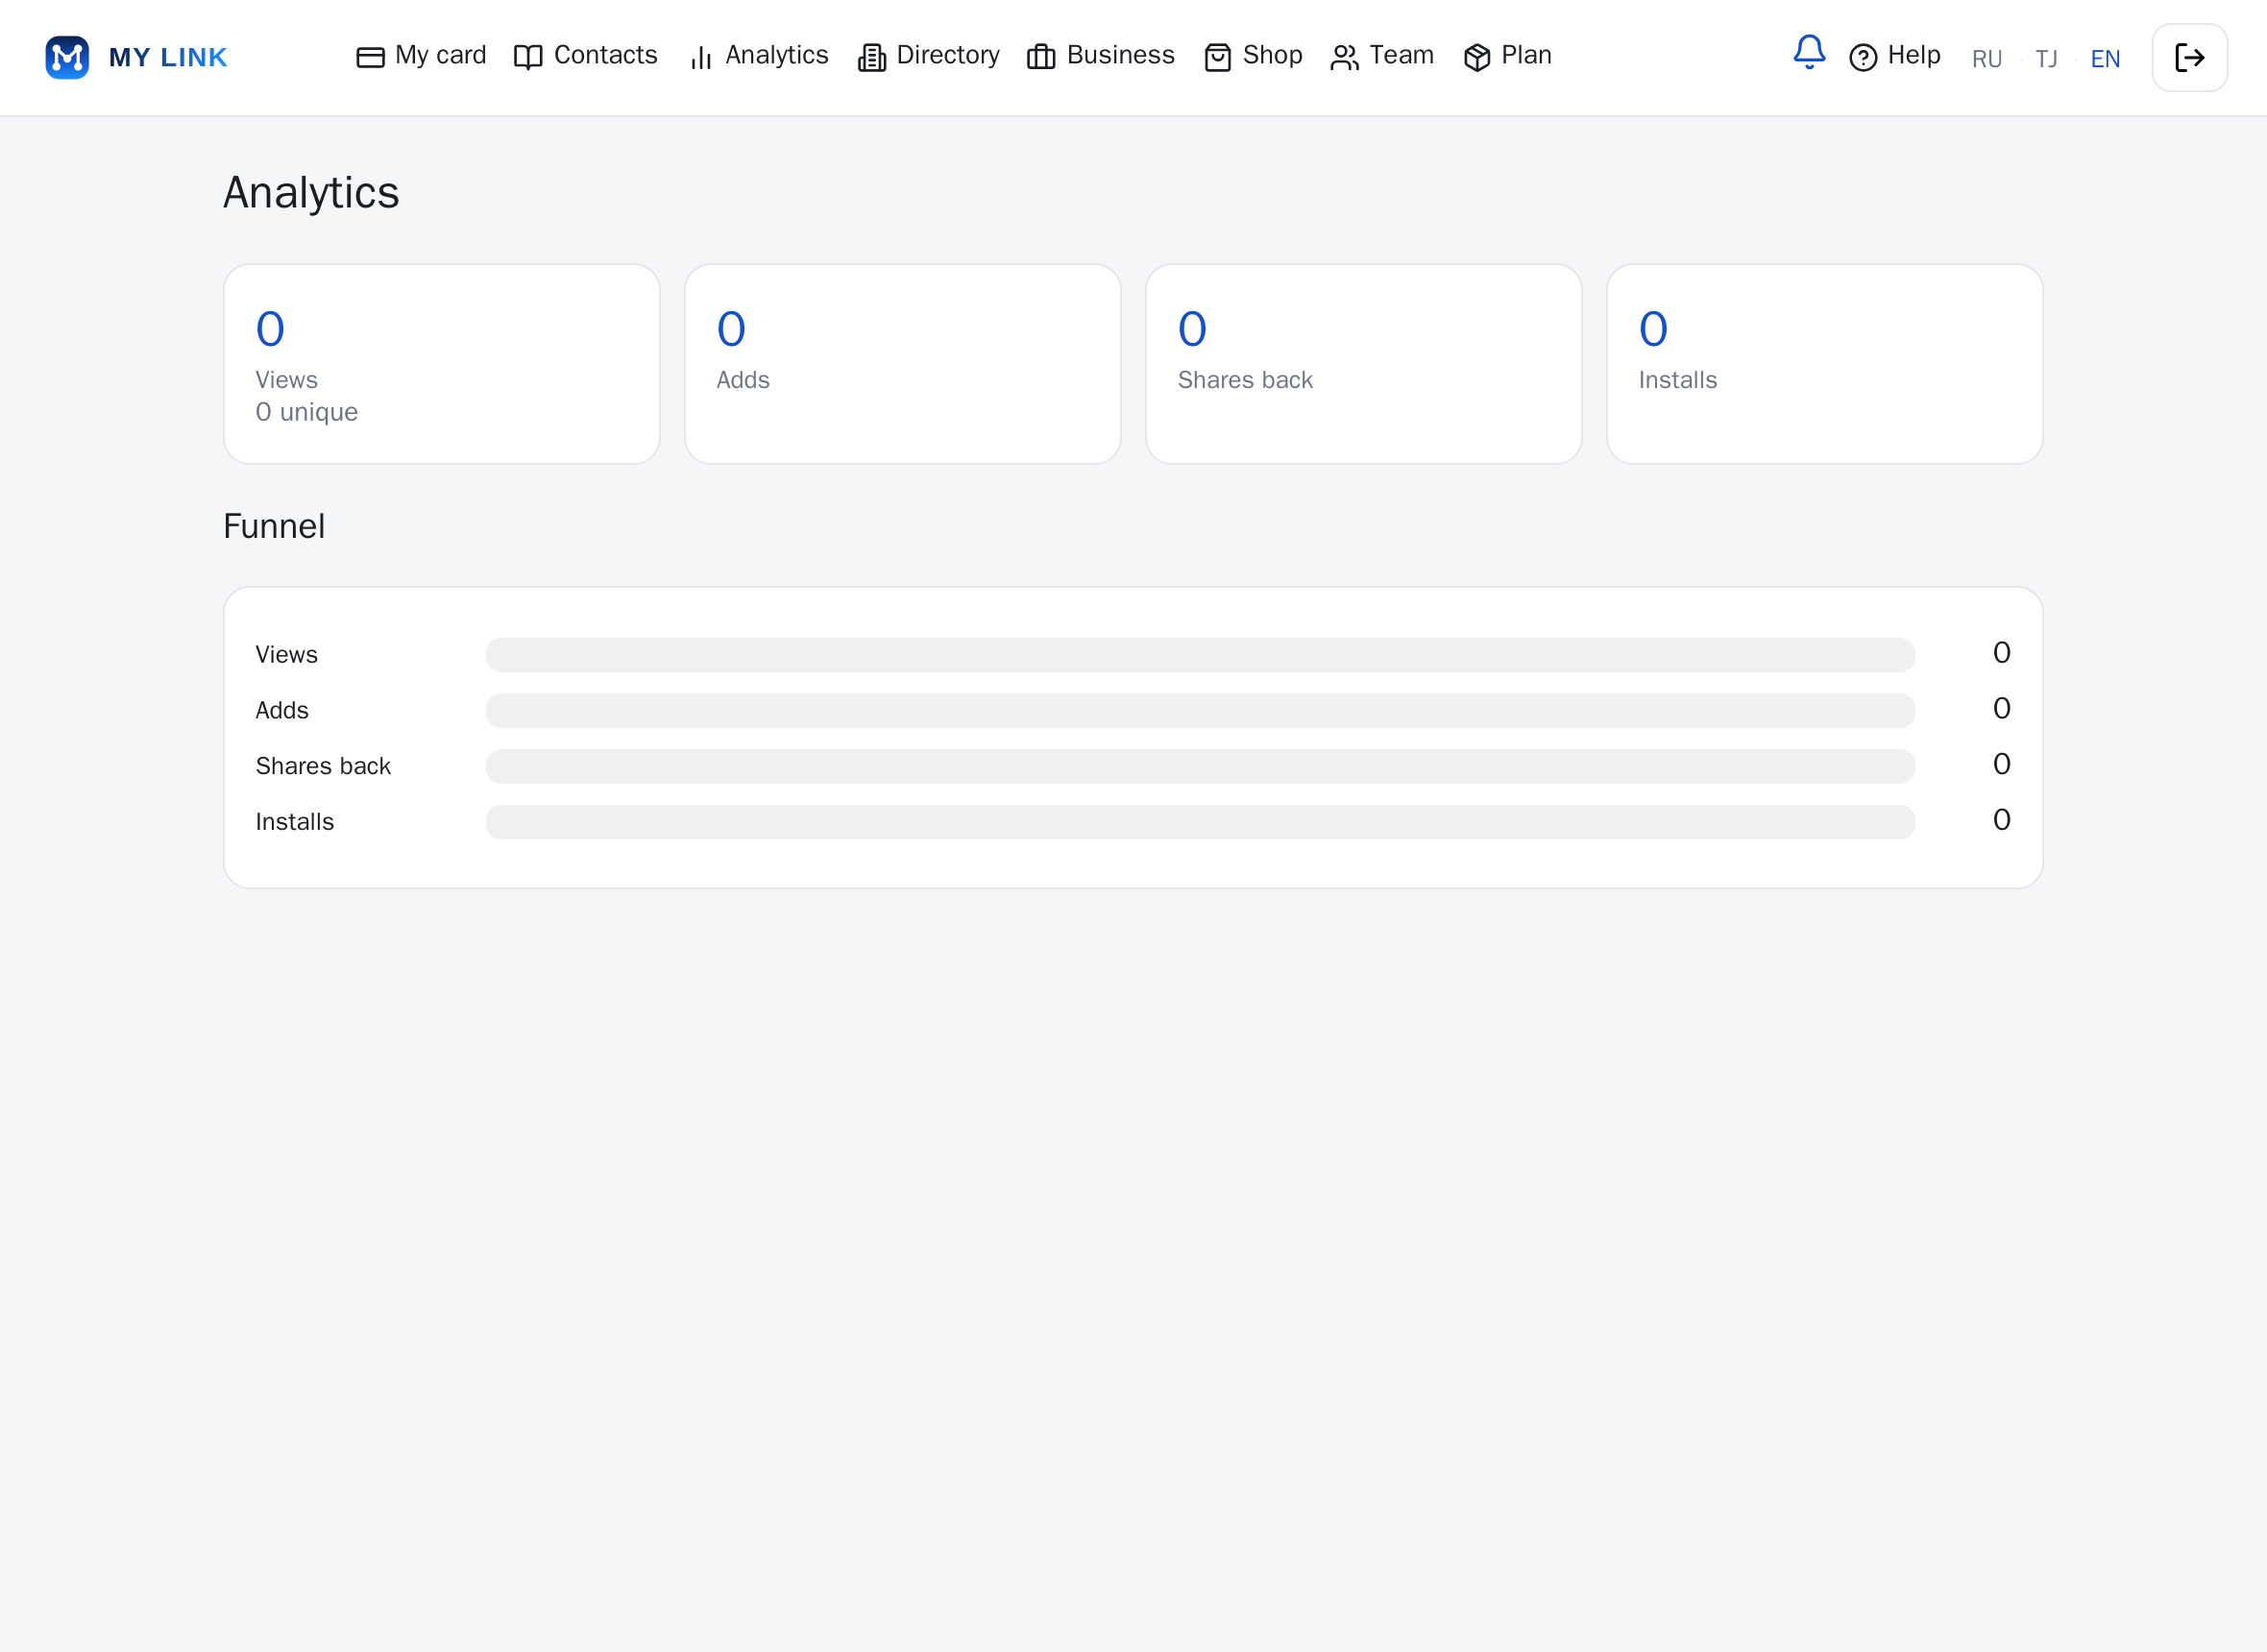
Steps
- In the “Analytics” section see the key metrics: Views, Adds, Shares back, Installs.
- The numbers show which cards and channels perform best.
Conditions
- Metrics update as activity happens.
- Data is counted from view and save events of your card.
7. Plan
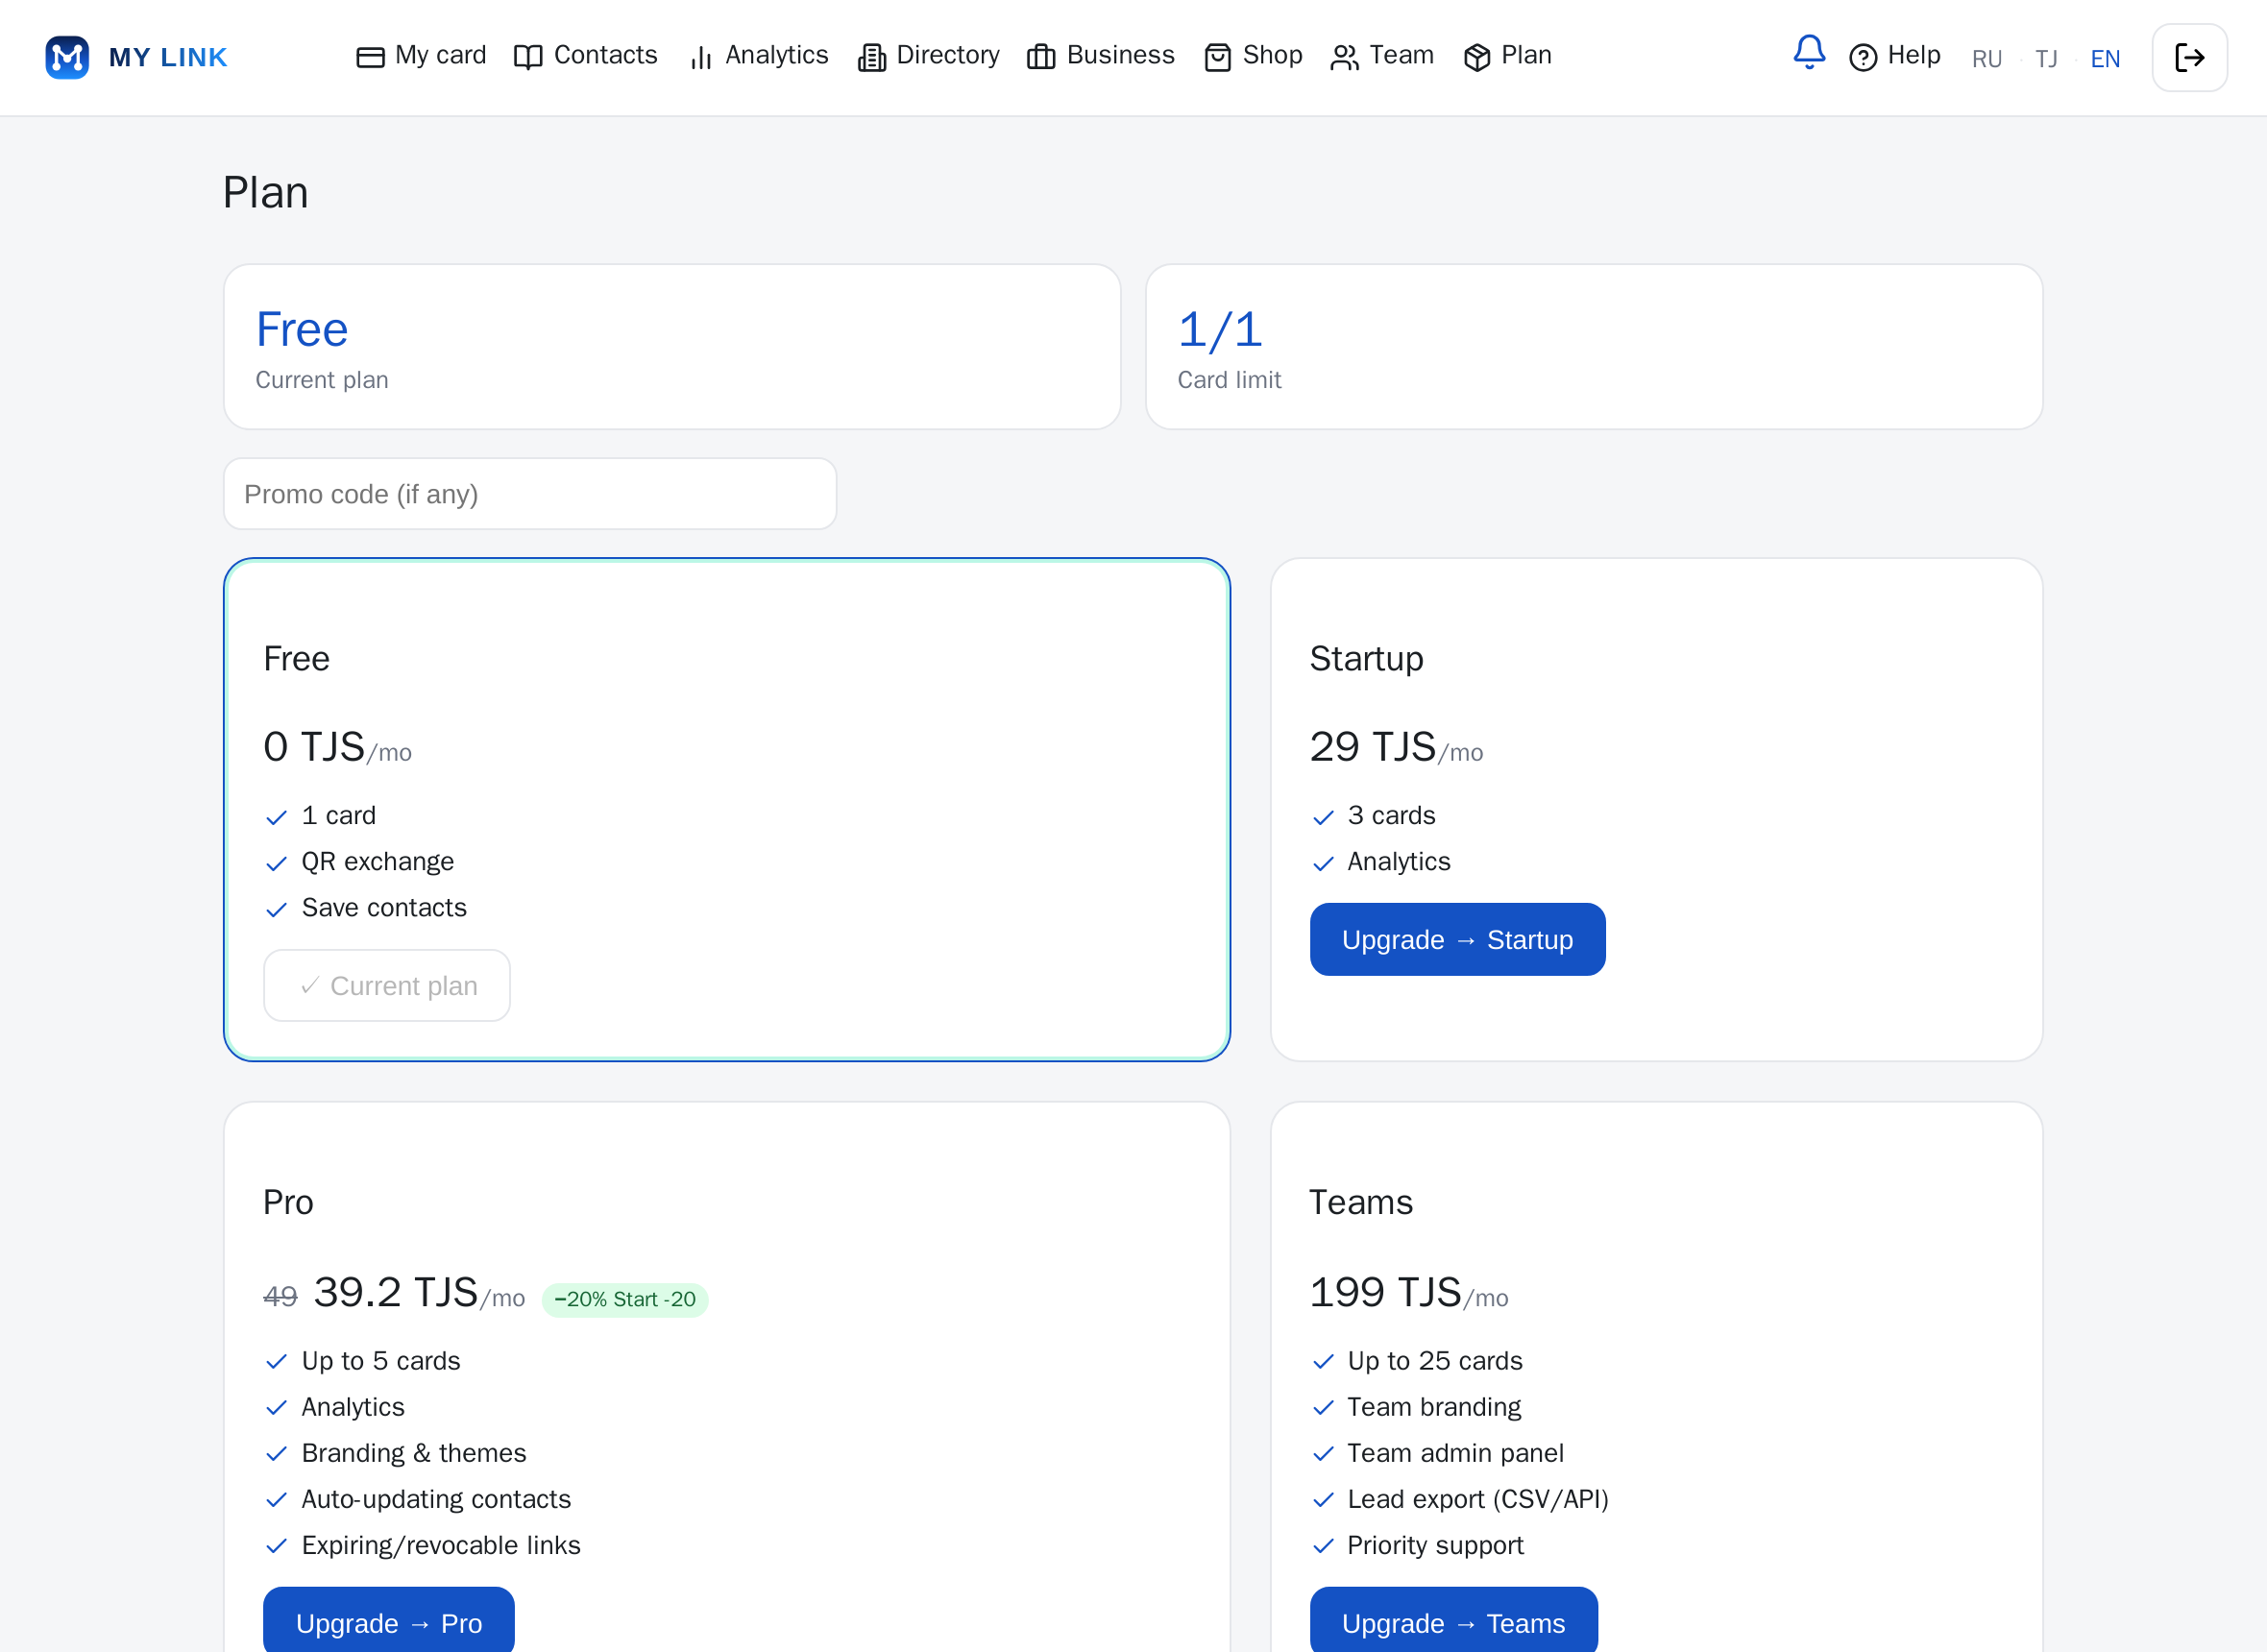
Steps
- The “Plan” section shows your current plan and card limit.
- The “Upgrade” button moves you to a higher plan, “Cancel” returns you to the basic one.
Conditions
- The card limit and advanced features depend on your plan.
- A plan change takes effect according to the terms of the selected plan.